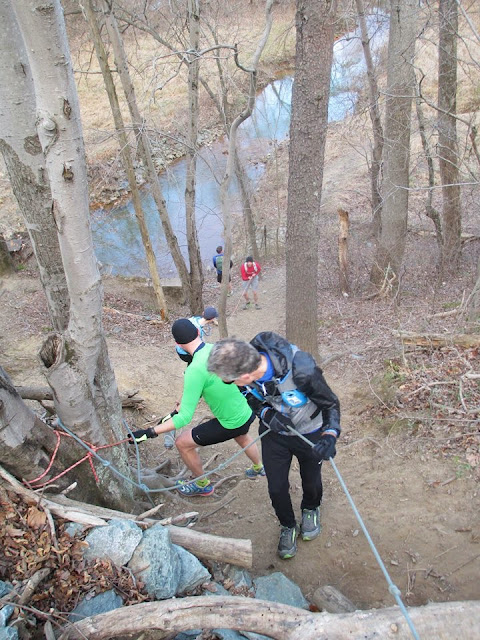
On November 16, 2014, I tore my right hamstring in several places while running out to the Ragged Mountain Reservoir on Reservoir Road. What followed was a lot of pain and heartache, but not much running. After a minimally effective course of physical therapy, I switched to a new physical therapist on April 28, 2015. By then, I had developed such a bad case of sciatica that Rodney couldn't figure out what PT to try with me because every movement caused searing pain. A week later, I saw Dr. Lehman, my orthopedist, who did an ultrasound and confirmed that all three of my hamstring tendons were damaged, with some calcification. She gave me a platelet-rich plasma (PRP) injection, a somewhat experimental technique, on May 15, 2015. The next day—six months to the day after my injury—I did an unusually hopeful thing for me: I saw hydration vests—the lightweight packs used by ultrarunners to carry water, food, whatever, on long runs—on sale and ordered one. I promised myself that I would use it while I worked up to running long enough to do the whole Rivanna Trail, the loop trail around all of Charlottesville, in one shot, which has been a pipe dream of mine for about 20 years. When the package arrived, I stashed it in the closet, unopened, waiting for the day I could finally use it.
In the meantime, I wasn't allowed to run for 12 weeks after the PRP injection. During that time, I saw Rodney twice a week, very slowly building up what I could do in PT. On July 9, 2015, I started using the elliptical; a week later, Rodney turned me loose to start walking up to 30 minutes at a time. I saw Dr. Lehman again on August 11. She was "thrilled" with my progress, which she thought was well past the 80% mark, a figure she had said might be my maximum improvement ever from this injury. Finally, on August 23, I started on a back-to-running program, doing 10 intervals of jogging/walking, with 1 minute each. From there, we scaled up ever so slowly. My first 20-mile week ended on November 15, 2015, a year after my injury.
I had two more setbacks with calf strains, then finally figured out how to increase my mileage slowly enough to work through that issue (with the help of a Marathon Stick, how I love that thing). Last week, I finally pulled the hydration vest out of my closet and used it on the 14-mile trail run from Sugar Hollow up to Blackrock summit and back. And today, at last, I fulfilled my unusually hopeful promise to myself and ran the whole Rivanna Trail.
There's no "cooking advice" in this particular story, but I guess there is a lesson in optimism and hopefulness, maybe made a little more meaningful coming from such an unlikely source.
Since it's Super Sunday, we celebrated another awesome day with Black Bean Chili (made with pinto beans, too, which we're really starting to like in our chili), but no Cornbread, since our stove is temporarily out of commission. That being the case, I improvised and whipped up these simple chocolate cakes in the microwave. They're not as good as a real chocolate cake evenly baked in the oven, but they'll satisfy your chocolate craving in a pinch.
Microwave Molten Chocolate Cakes
From Cook's Country #53, Oct/Nov 2013 via The Bitten Word
The recipe was developed for a full-size, 1200-watt microwave. If you're using a microwave with 800 watts or less (like we are), increase the cooking time to 90 seconds for each interval (still using 50% power).
4 tablespoons (2 ounces) unsalted butter
1 ounce bittersweet chocolate, chopped, plus 1 ounce broken into 4 equal pieces
¼ cup (1¾ ounces) sugar
2 large eggs
2 tablespoons (⅜ ounce; 11 grams) unsweetened cocoa powder
1 teaspoon vanilla extract
¼ teaspoon salt
¼ cup (1¼ ounces) all-purpose flour; or white rice flour for gluten free
½ teaspoon baking powder
1. In the largest bowl that fits in your microwave, zap the butter and the chopped chocolate on 50% power for a minute. Stir, then continue zapping on 50% power until melted, stirring every 30 seconds. Add the sugar, eggs, cocoa, vanilla, and salt, and whisk until smooth.
2. In a small bowl, whisk together the flour and baking powder, then whisk into the chocolate mixture until smooth. Divide the batter evenly between two 11-ounce coffee mugs (any smaller and the batter may overflow).
3. Place the mugs across from each other in the microwave. Zap at 50% power for 45 seconds (see the headnote if you have a low-power microwave like we do). Stir the batter with a spoon, then zap at 50% power for another 45 seconds (see note). The batter should rise to just below the rim of each mug (ours didn't rise that high, probably because we used gluten-free rice flour). Press 2 chocolate pieces into the center of each cake until the top of the chocolate is even with the top of the cake. Zap at 50% power for another 35 seconds (see note). The cakes should be just a little wet around the edges and somewhat drier in the middle. Let the cakes rest for 2 minutes. Serves 2.


No comments:
Post a Comment